
If you want to repair a drywall ceiling, this article will help you. Drywall ceilings are common in many homes and offices in Singapore due to their smooth finish and ease of installation. However, issues can happen and result in unsightly holes in the ceiling.
There can be different reasons for this, but you need to sort it out immediately. Repairing a drywall ceiling hole might seem intimidating, but it’s a simple task that can be done with the right tools and knowledge. In this guide, we’ll walk you through a step-by-step process to fix a drywall ceiling hole in the easiest way possible.
Repair Cracked Drywall Ceilings
It can be frustrating to repair a drywall ceiling hole, especially when it detracts from the overall aesthetic of your home or office. You may hire a professional like SG Handyman Services Maintenance Singapore, which offers concrete repair, cornice repair, and waterproofing services.
However, you can repair peeling drywall ceilings by adopting a DIY approach. You need to understand how to fix a drywall ceiling and gather the right tools and materials to do the task. Let’s go through the guide in this article to effectively repair a drywall ceiling water damaged.
Tools and Materials You Will Need
You will most likely need the following tools and materials to repair a drywall ceiling in Singapore.
- Drywall patch
- Drywall compound
- Drywall screws
- Drywall knife
- Sandpaper
- Utility knife
- Screwdriver
- Tape measure
- Paint to match your ceiling
How to Repair a Drywall Ceiling?
1. Assess the Damage
The first step is to assess the size and extent of the hole. If the hole is small, you can easily use a ready-made drywall patch. For larger holes, you may need to cut out the damaged area and replace it with a new piece of drywall.
2. Cut Out the Damaged Area
If the hole is larger, cut out the damaged section of the drywall ceiling. Cut the hole into a rectangle for easy patching. Ensure you cut a bigger patch than the damaged area to remove all damaged drywall.
Make a rectangle around the hole with a pencil for circular holes and cut it out. Be cautious when cutting to avoid damaging wiring or pipes above the ceiling.
3. Prepare the New Drywall Patch
If you’re using a drywall patch, cut the new piece to fit the size of the hole you have just cut. It’s important to ensure the new patch is slightly smaller than the hole to fit perfectly. If you’re not using a ready-made patch, cut a piece of drywall the same thickness as your ceiling.
4. Install a Backing Board
You may need a backing board to support the new patch for larger holes. Insert the backing board into the hole and tighten the screws to the existing drywall on both sides. This backing will support the patch you’ll install next.
5. Secure the Drywall Patch
Once the backing board is in place, place the drywall patch into the hole and fix it with drywall screws. Put the screws into the surrounding drywall and the backing board to hold the patch. Be careful not to overtighten the screws, as this can cause the drywall to crack.
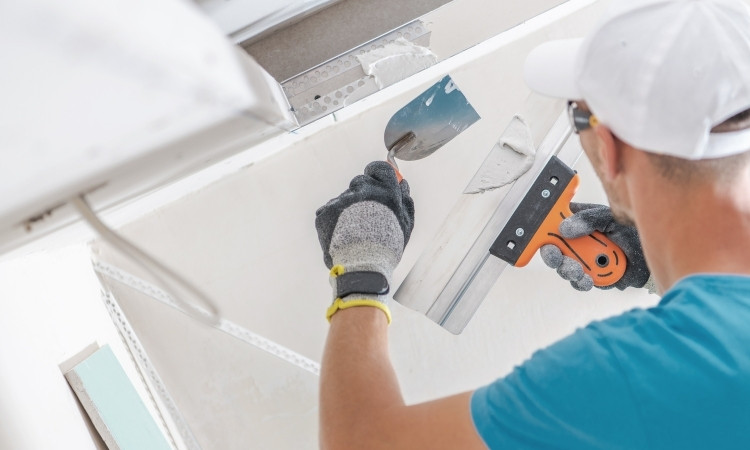
6. Apply Drywall Compound
With the patch in place, the next step is to cover the edges with drywall compound. Moreover, you should spread the compound smoothly over the patch and fill the cracks around the edges. Thin layers of compound are recommended for a better finish.

7. Let it Dry and Sand Smooth
Let the drywall compound dry for the recommended time. When dry, sand the patched area until it’s smooth and level with the rest of the ceiling. If you feel further need for the compound put it there and repeat the sanding process.
8. Prime and Paint the Ceiling
After smooth sanding the patched area, apply a coat of primer to the repaired section to prepare it for painting. Once the primer is dry, paint the patch to match the rest of your ceiling. Be sure to use ceiling paint that blends seamlessly with your existing color.
Conclusion
In conclusion, you can easily repair a drywall ceiling if the damage is not too big. However, you must have the right tools and understanding of the system to complete the repair process. The above instructions help you complete the repair process efficiently and effectively.